Today we have a guest blogger, Ash from Just Measuring Up who along with his wife Eileen are a dynamic team of home improvement and DIY bloggers. Read on to see what he has to say about working with our Hearts Stencils.
Have you ever see a gorgeous accent wall and wished you were able to replicate it?
Well, I have some good news for you! With the right stencil and perfect paint color, it’s super easy to create a stunning accent wall in your home. No artistic ability necessary.
Eileen found a heart stencil pattern from My Wonderful Walls that she fell in love with, knowing it would be perfect in our nursery.
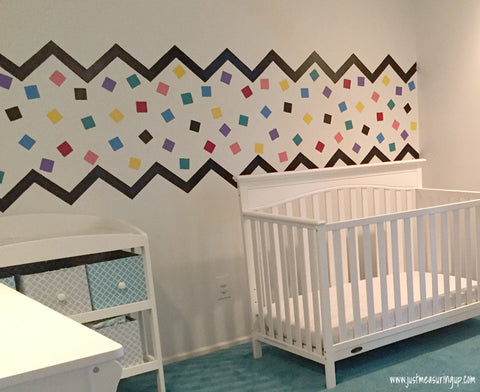
The current pattern on the wall (from the original homeowners) was begging for an update. There were two black zig-zags with colorful squares between them that Eileen and I wished we had painted over before moving in.
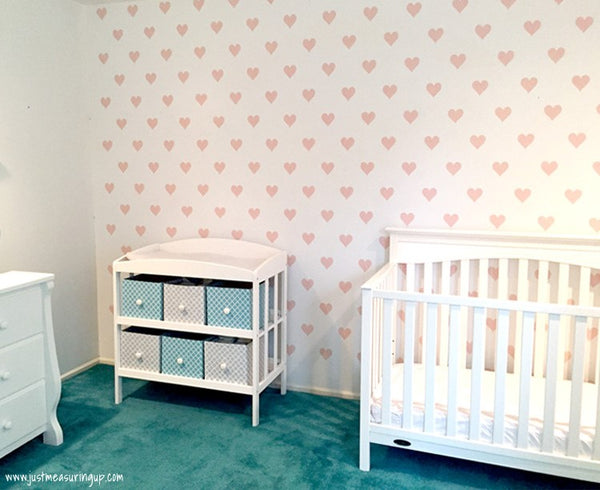
And, here’s a picture of the gorgeous after:
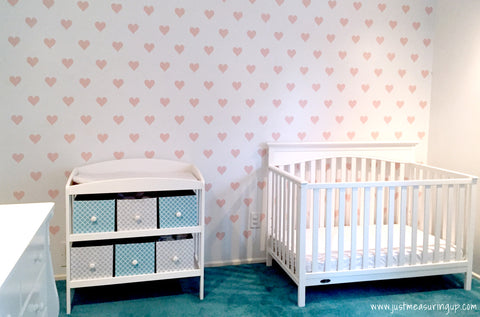
It’s like night and day!
How to Paint a Heart Stencil Wall
We usually just paint walls a standard color, so we were looking forward to having a little more fun with this wall.
To begin, I had to first start with a blank slate. This meant removing the current pattern. I used a high-quality white paint from Benjamin Moore and applied two coats to cover the pattern. I was hoping one coat would do the trick, but the pattern was still visible, so two coats were needed.
I did have to use my orbital sander a few times though. Some areas on the original pattern were causing visible ridges. It was a hand-painted pattern and had a lot of paint build-up on the edges of the zig-zag. I thought the white paint would cover and hide it, but I was not that happy with the result. So I just used the sander to make a few areas more smooth, and re-applied the paint.
Soon the wall was a blank white canvas, begging for some pink hearts. I read the instructions for using the Wonderful Walls template and watched their video tutorials on their website. The process was very straight forward.
Materials for the Heart Accent Wall:
- Heart stencil template from My Wonderful Walls
- Quart of thick, high-quality pink paint
- Chalk paint/stencil brush
- Paper towels
- Sheets to protect your floor from paint
- Hair dryer
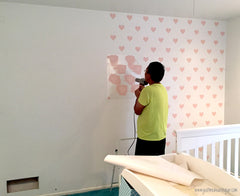
Here’s a picture showing my setup:
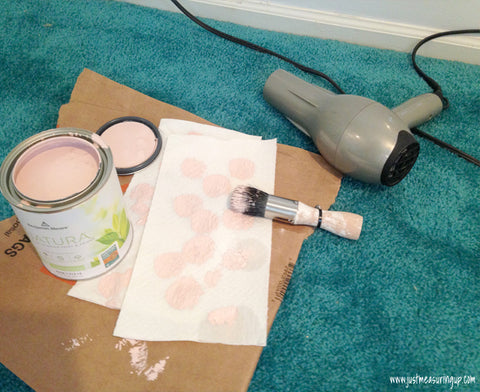
Yes, that was a hair dryer you saw on the list. I should have told Eileen I borrowed hers for this project. She was confused on why I had borrowed it. It came in handy to speed up the drying process for the templates.
So, the template was sticky on one side and adhered very well to the wall. I started on one corner of the wall with the template attached, and started painting on hearts. I did my research ahead of time to know that some of the best results come from using chalk paint/stencil brushes. Luckily Eileen had one lying around that she used in a recent chalk paint furniture redo project.
 With these types of brushes, a stippling technique would work best to apply the paint (where you gently pat the wall with the brush repeatedly until the heart was filled in with paint, much like a woodpecker motion - pat pat pat pat).
The key to forming a sharp heart pattern with the template was to use a minimal amount of paint. Too much paint would bleed under the stencil and create wavy edges on the hearts. I had a few hearts like these until I perfected my stippling technique with the right amount of paint.
To prevent too much paint on the brush, I just tapped the brush against some paper towels after each dip. Then I was start stippling the hearts. On average, I filled in around 3 hearts at a time before having to re-dip the brush.
Once all eight hearts on the template were filled in with paint, I tapped the brush on the four registration mark holes on the corners of the template. These left small pink circles on the wall that helped me with placement of the template as I made progress along the wall.
The registration marks were critical in getting a consistent distribution of hearts. The marks were only temporary though. A quick dab of the original white paint would remove them once all the hearts were applied.
After I finished each section, I used the hair dryer on a low speed / high heat setting to speed up the drying of the paint. I needed the paint dry before I could remove the template and reposition for another section.
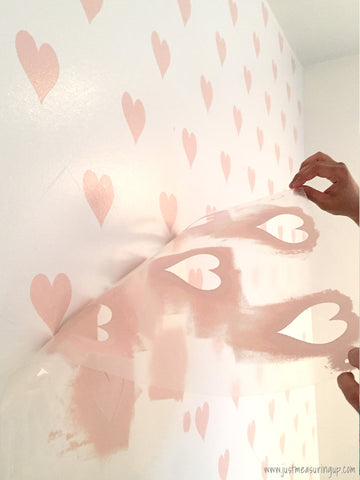
About 10 seconds per heart with the hair dryer seemed sufficient to remove the template cleanly.
Here’s a picture of the wall after I finished my first section (the template is on the bottom):
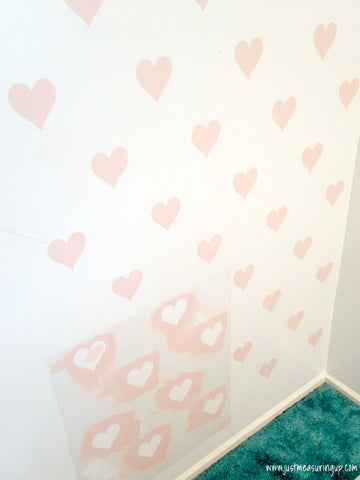
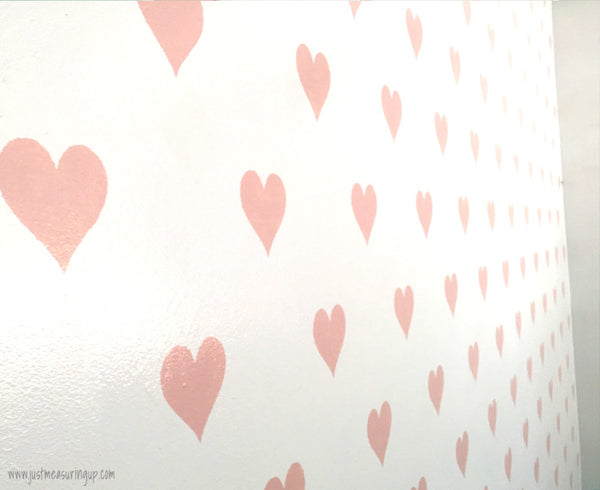
The hearts were looking really good. It was just a matter of time now before the whole wall was hearted.
Here’s a close-up of some of the hearts:
Here I am half way through, caught with Eileen’s blow dryer:
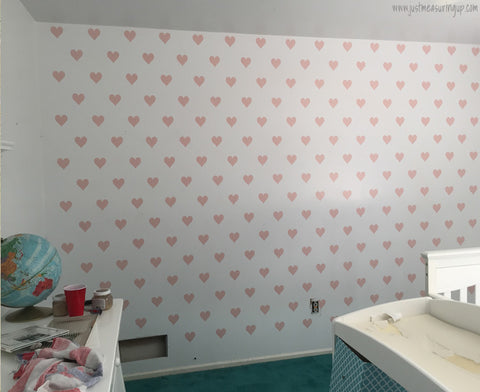
After about two hours, here is the completed wall:
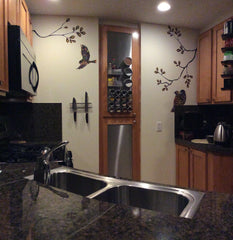
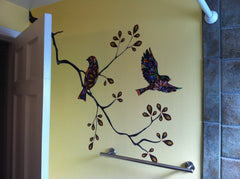
Eileen and I loved the way it turned out. We loved the quality of the heart stencil, which didn’t surprise us because we also loved the wall stickers from My Wonderful Walls, which we used in our son’s room.
The heart stencils are simply perfect for a little girl’s nursery. They would also look awesome in a craft room.
Aside from priming the wall from the previous pattern, the stencil took just an afternoon of work.
Overall, the accent wall was completed in a weekend, and Eileen and I were kicking ourselves that it took us so long to rid the nursery of the previous pattern.

Of course, here’s our dog Zeus, making himself comfortable in our updated nursery.
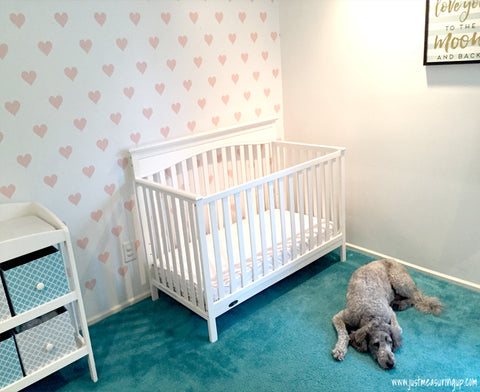
Who doesn’t love those hearts?! What a difference from the zig-zags!
Ash is a DIY blogger who, along with his wife Eileen, inspires others to embark on their own do-it-yourself projects through sharing their tutorials, tips, and ideas. Subscribe to their newsletter for DIY inspiration.
]]>


 STEP 2: PAINT THE BACKGROUND WALLS
 STEP 3: PLAN THE LAYOUT
 STEP 4: GATHER YOUR SUPPLIES


 Stenciling can be intimidating but once you get the hang of it, it really is one of the easiest ways to make a basic print on your walls, windows, furniture or fabrics. Here are the 5 basic steps to stenciling with a brush and a paint.

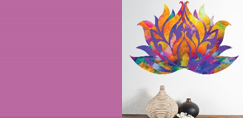
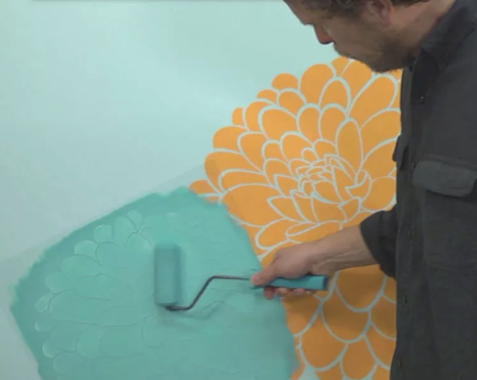 There are many techniques you can use to paint with your new stencils but one of the easiest is to use a roller brush and either latex house paint or acrylic craft paint. If you have bought a stencil kit from My Wonderful Walls, we do sell acrylic paint kits with all the colors you need to paint your wall mural as shown. But you can also purchase these paints at most craft or big box stores. Here is a step by step guide to stenciling with a roller brush.


 With these types of brushes, a stippling technique would work best to apply the paint (where you gently pat the wall with the brush repeatedly until the heart was filled in with paint, much like a woodpecker motion - pat pat pat pat).


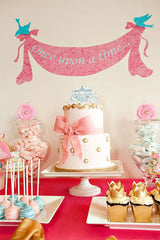 Birthday party planning can be somewhat stressful, especially when the birthday child has very definite theme ideas or no idea at all! Don’t worry! We have rounded up some easy ideas for you to add your child's own personal style to the day and make their party stand out from the rest. You’ll also get bragging rights when everyone at the party wants to know where you got the cool birthday swag. Best part is, these simple DIY party ideas won’t break the bank.
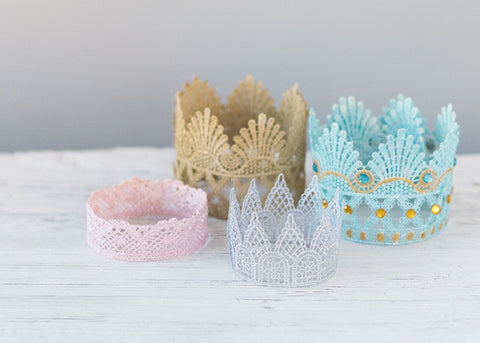


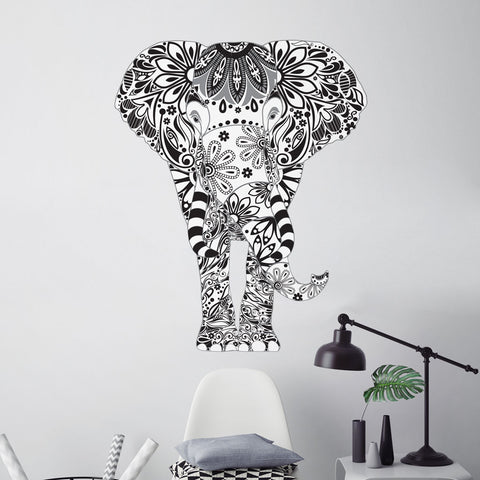
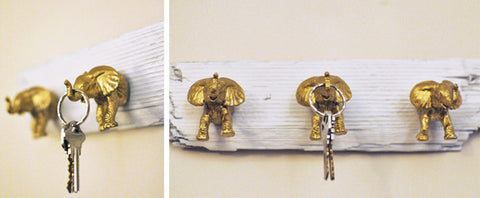
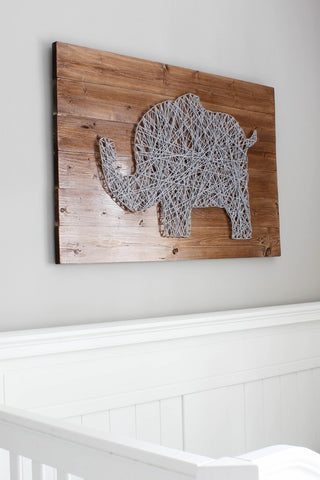
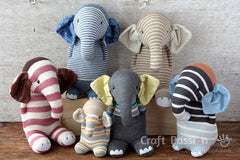
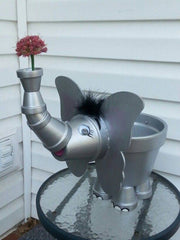
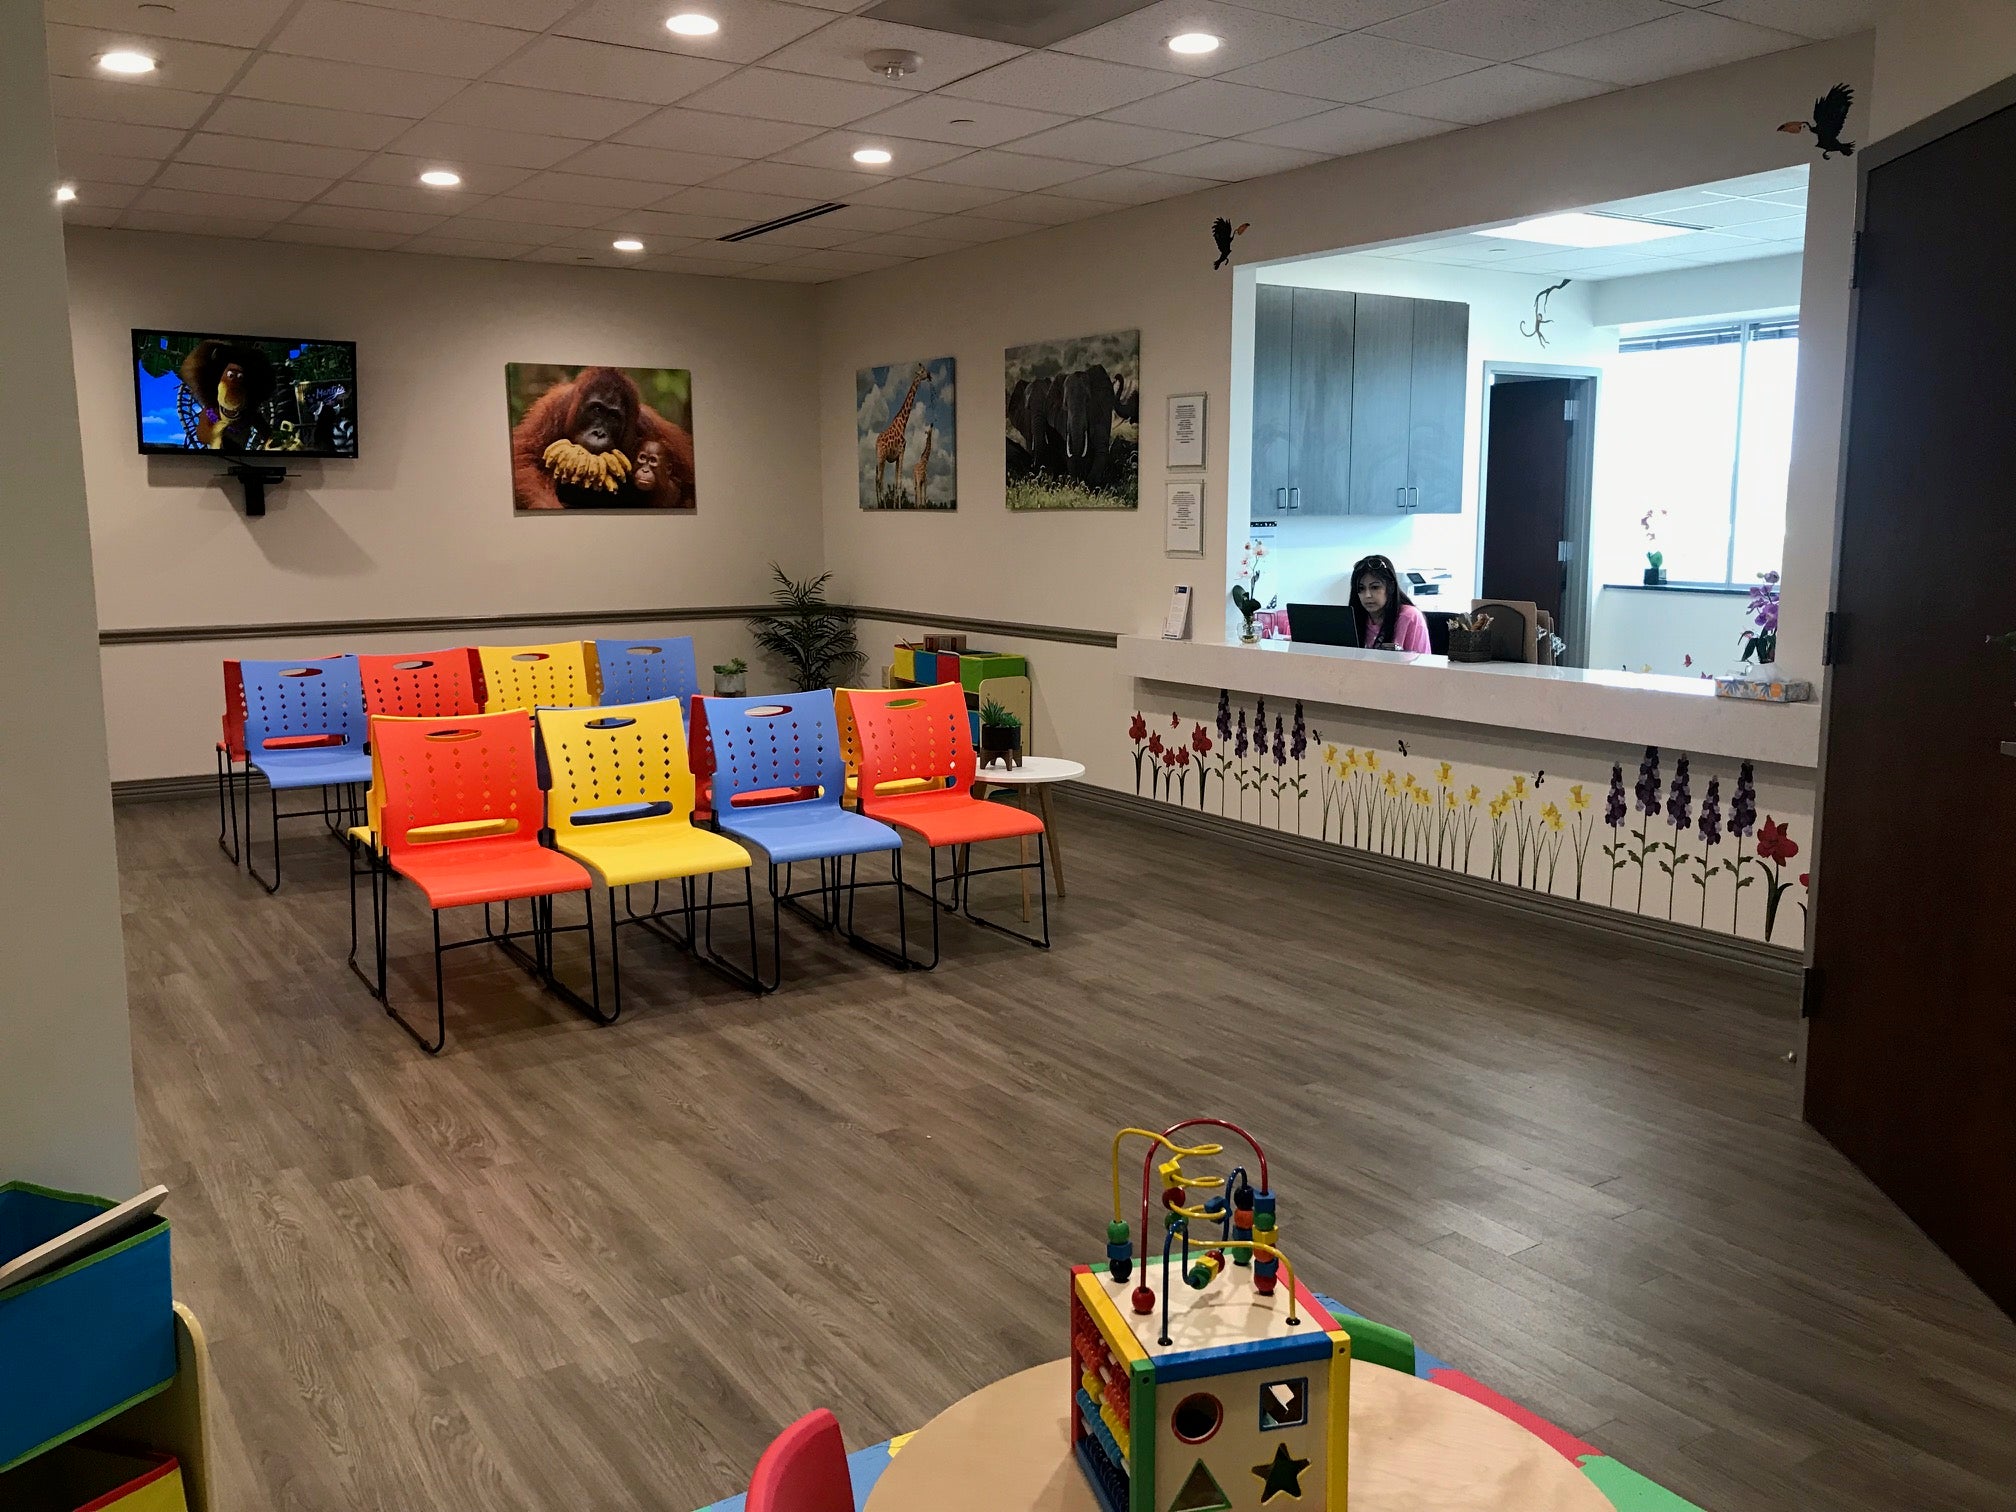
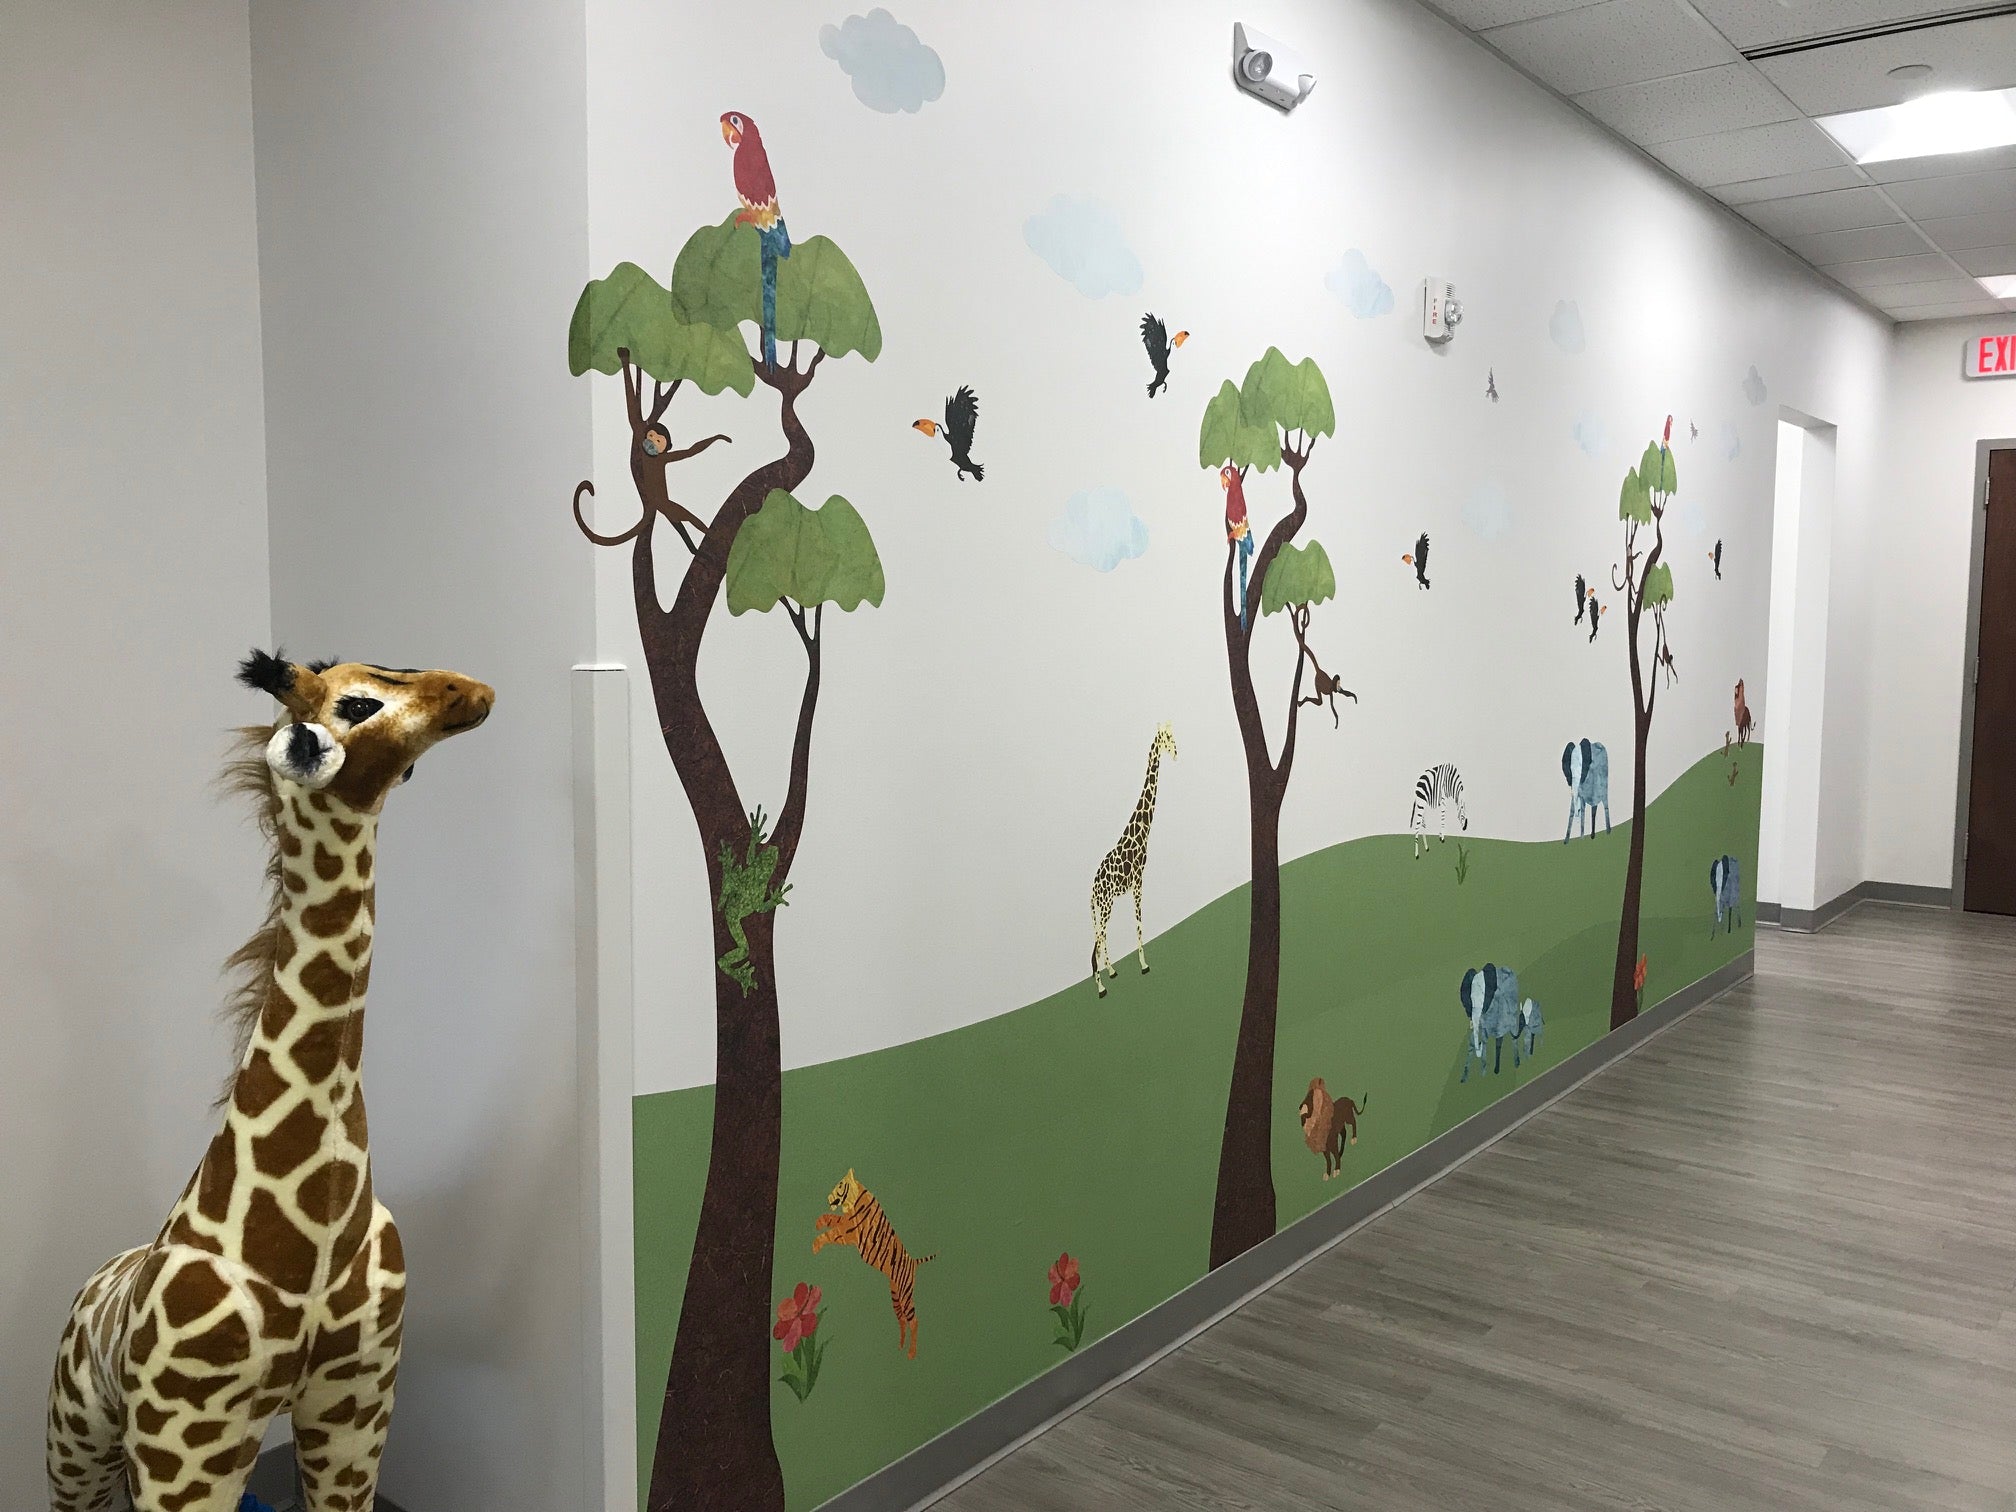
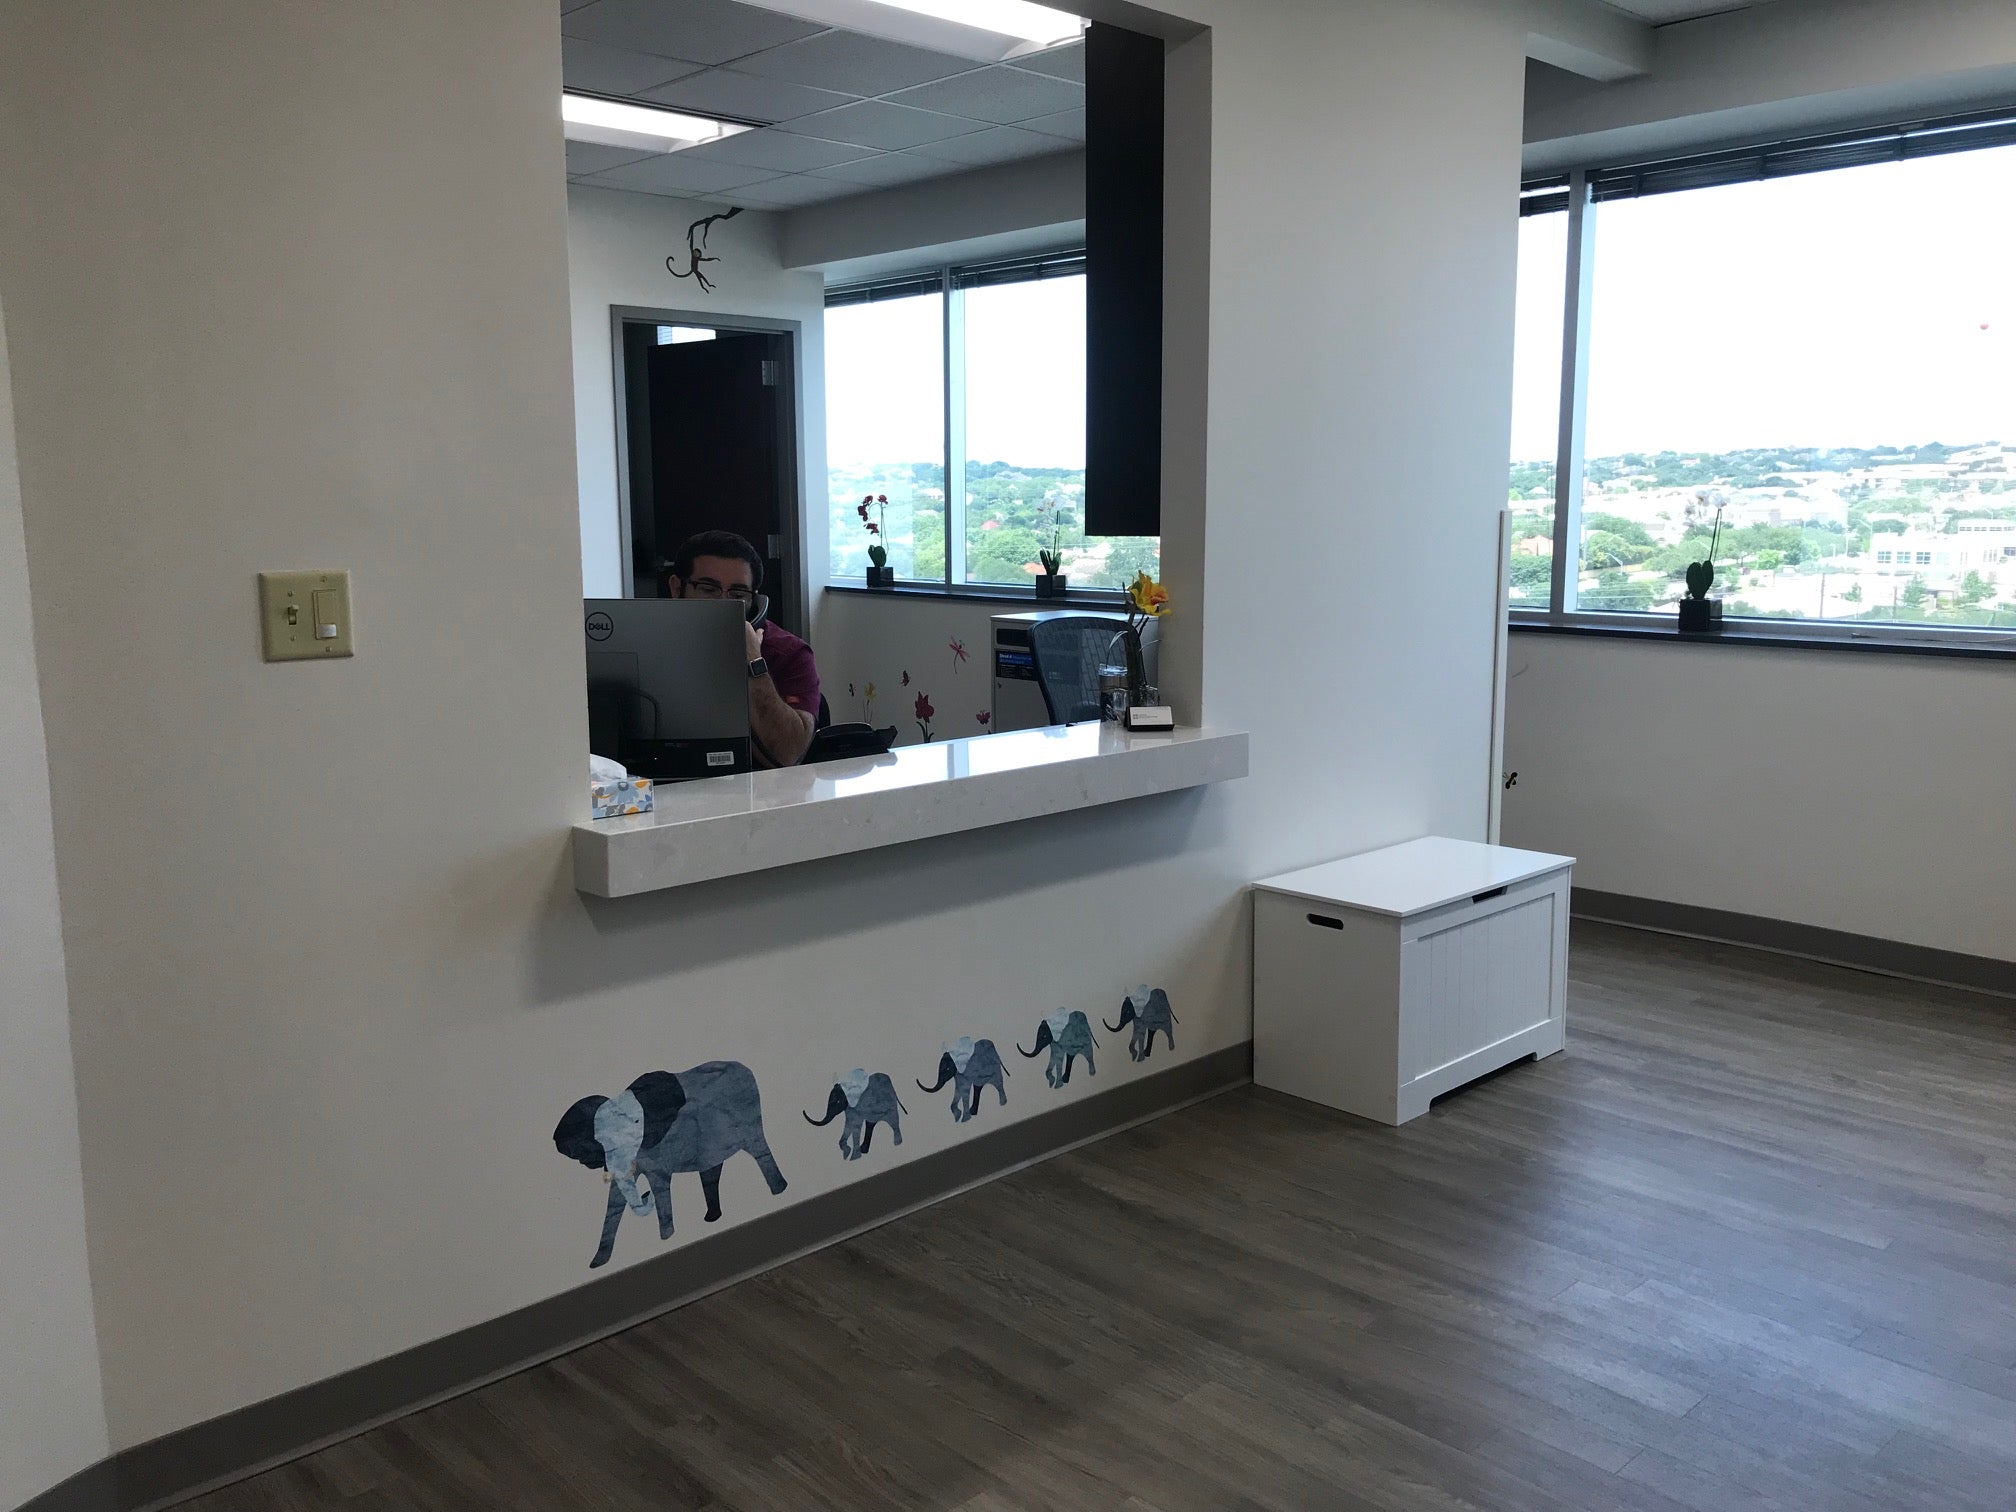
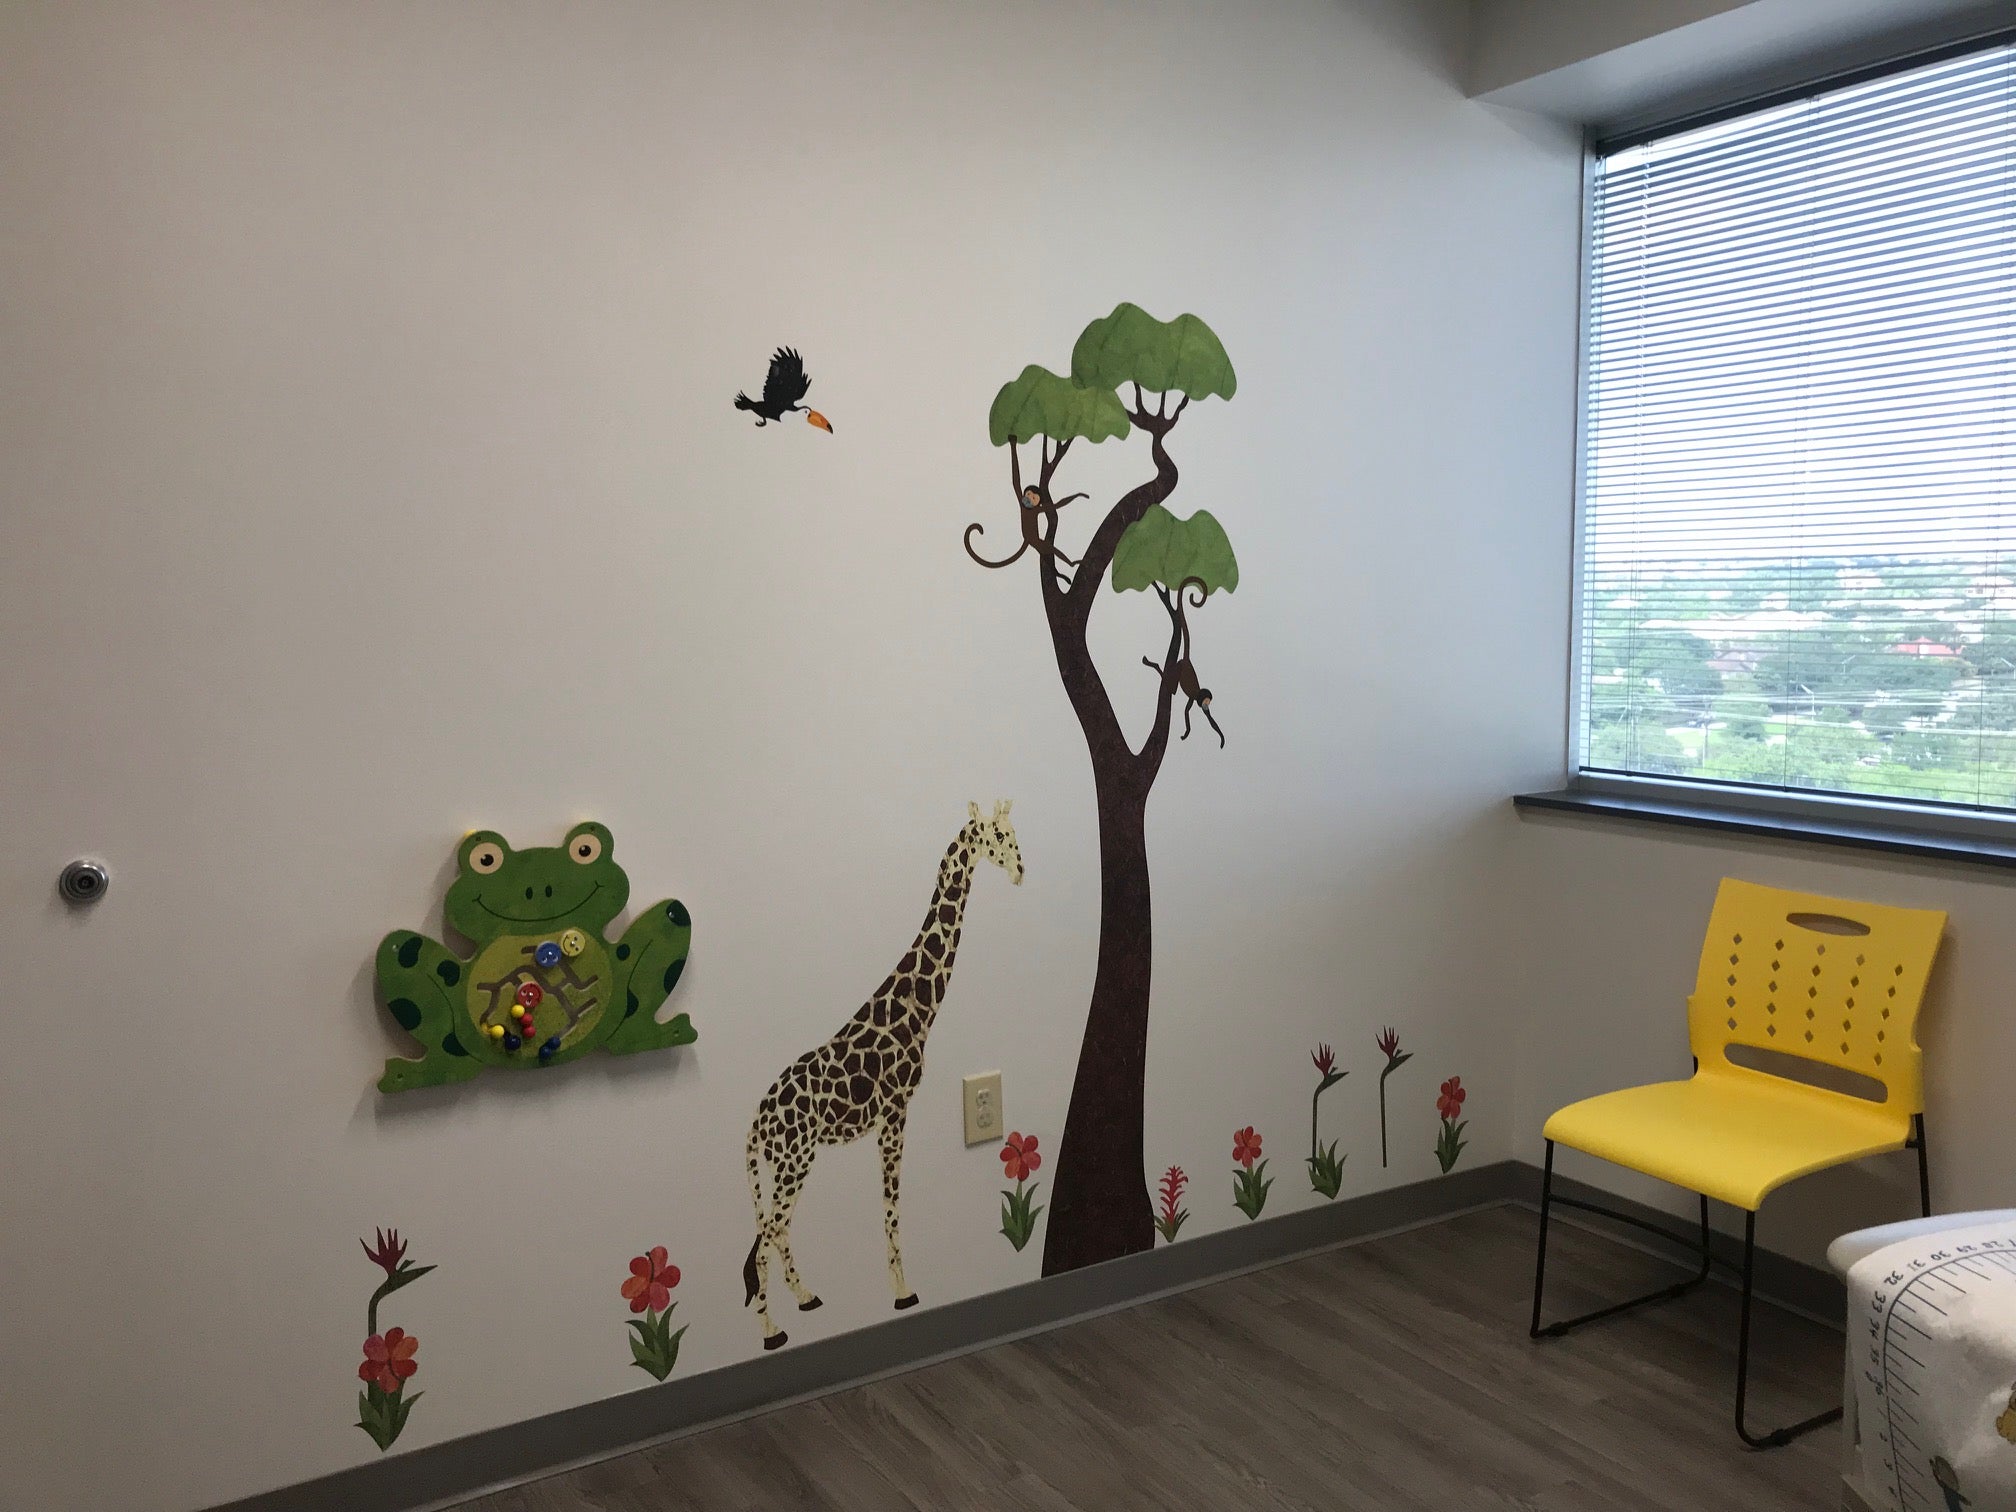
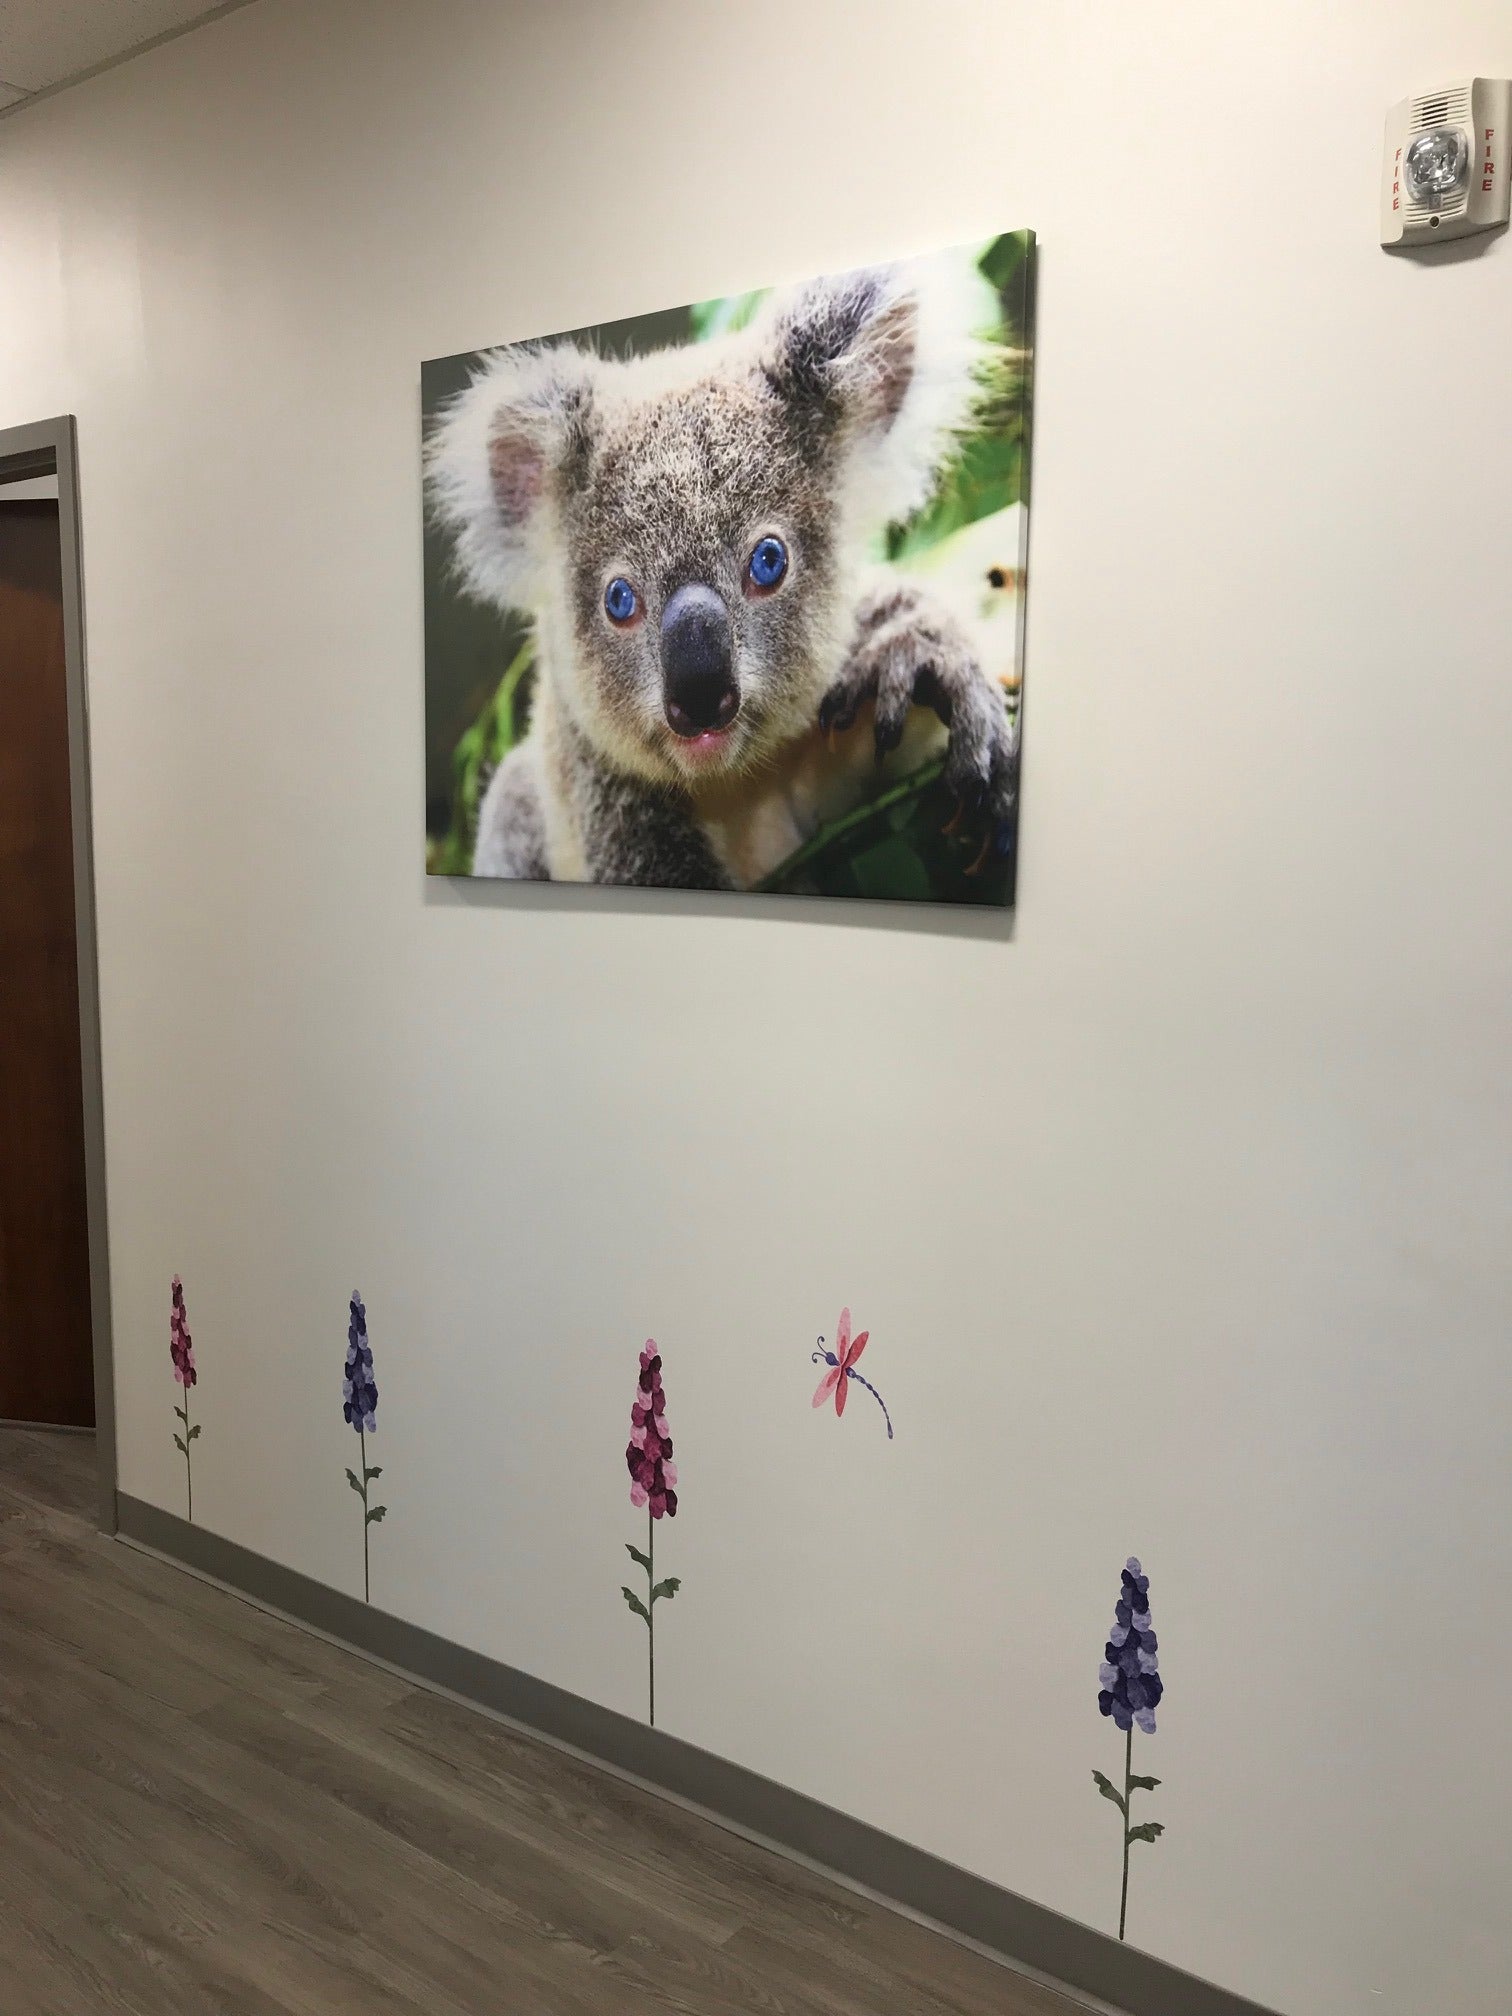
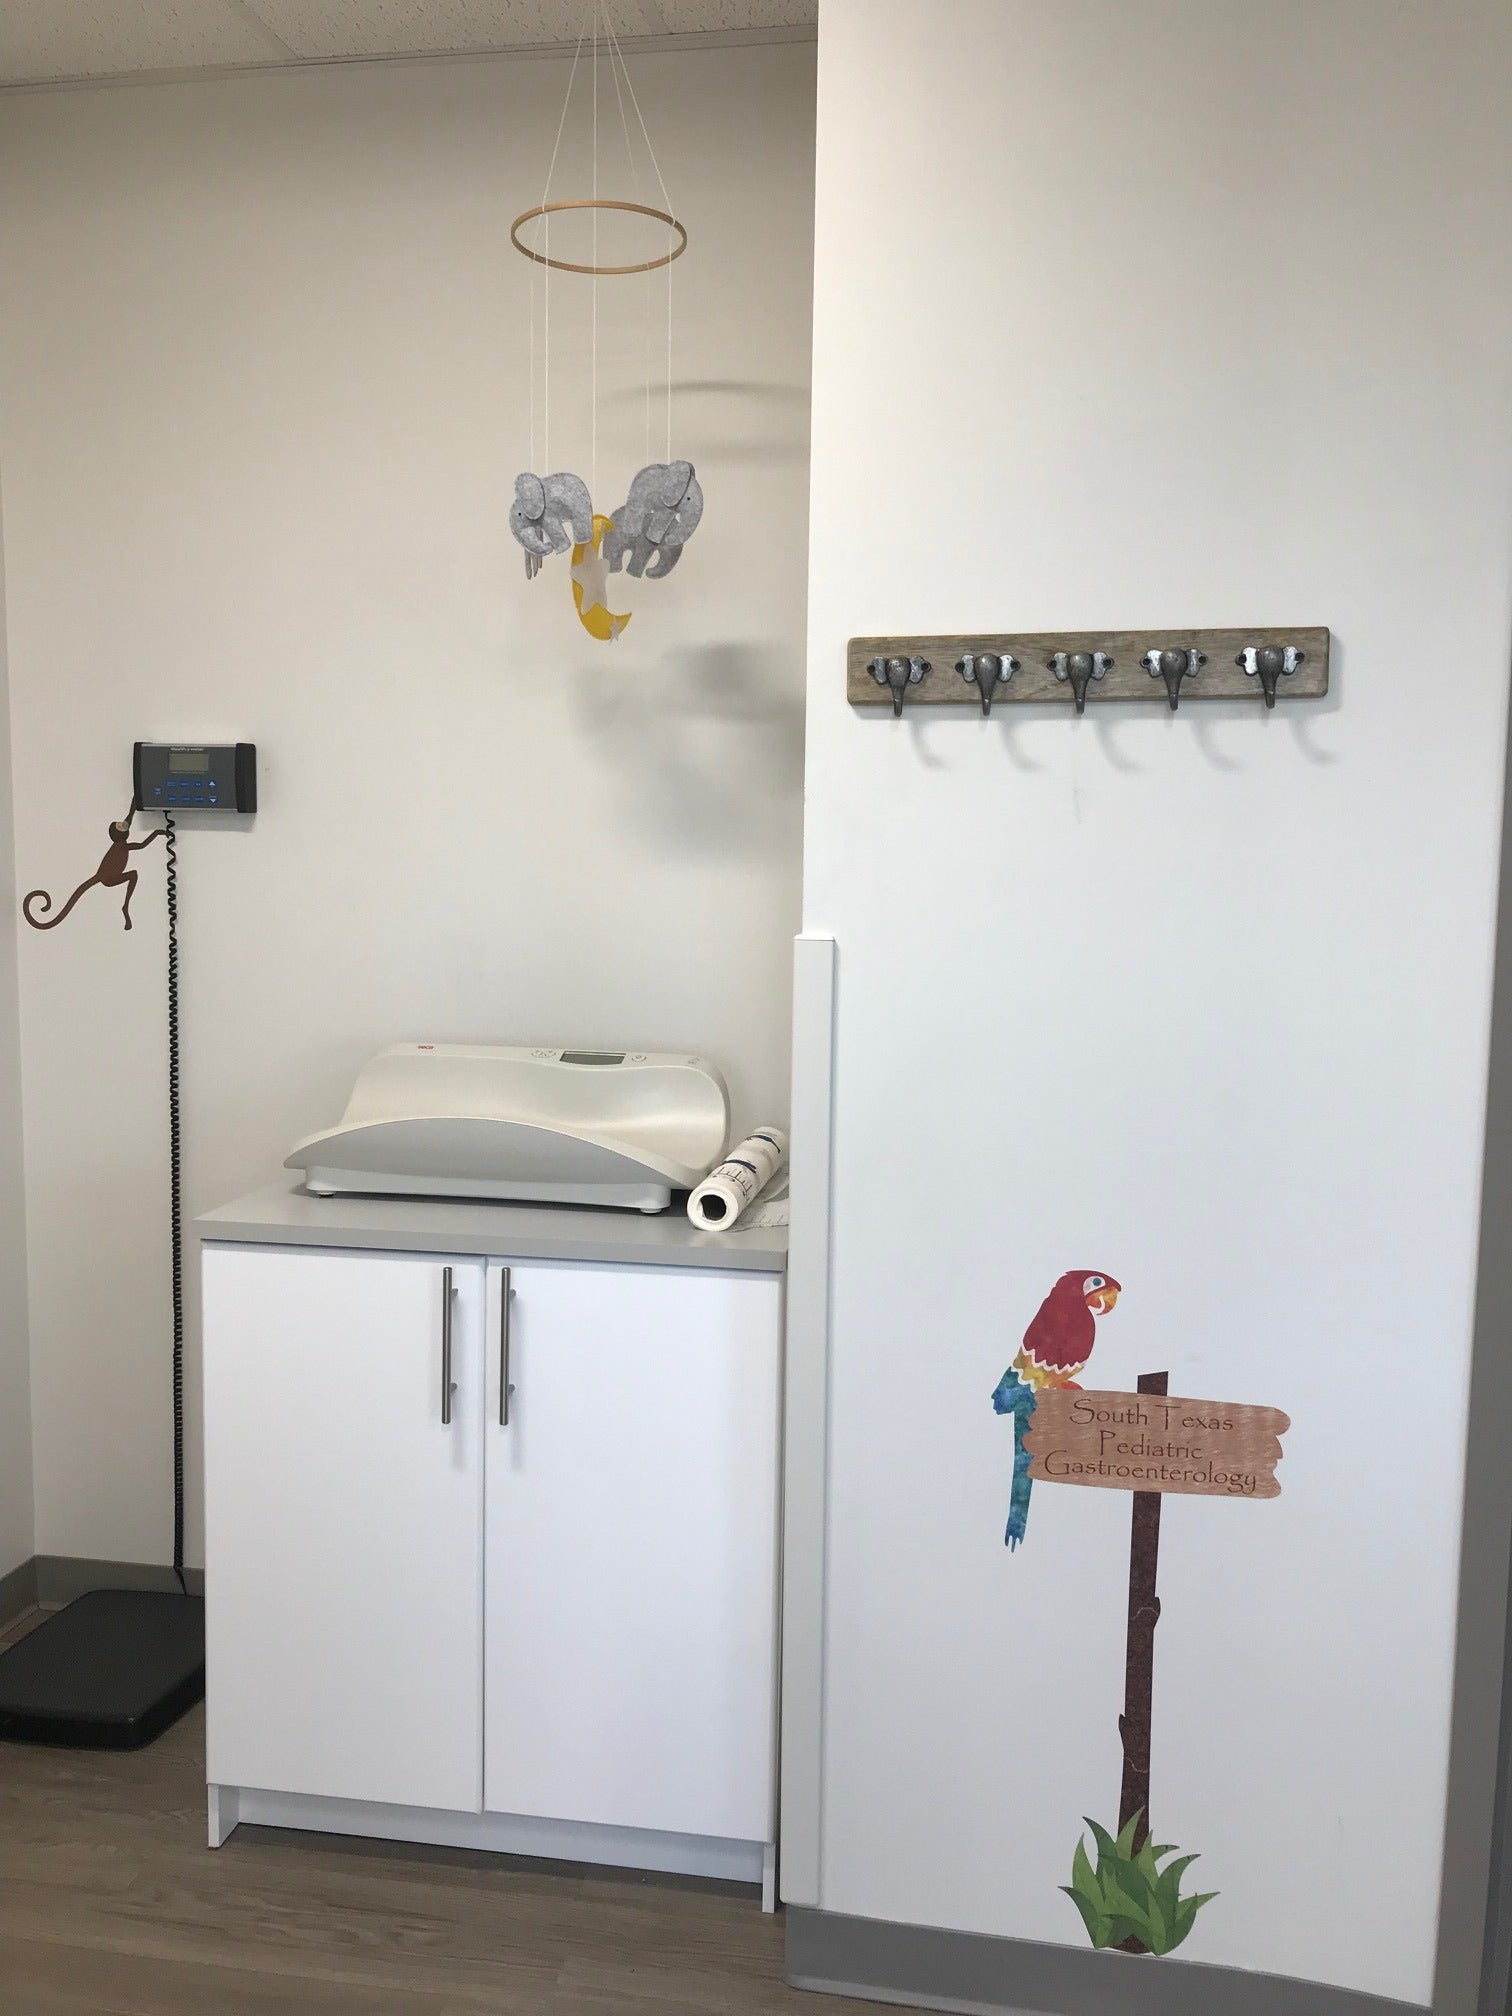
 The elephant is widely considered a symbol of good luck and good fortune. If you look all the way back to ancient times, elephants take on an even more significant role in several cultures and religions. The white elephant is even said to be an incarnation of the gods in some cultures. Elephants can also be a symbol of wisdom and strength. It’s no wonder we find elephants in so many forms of art, literature and home décor. Who wouldn’t want to surround themselves with good luck and wisdom? If you love this amazing animal as much as we do here at My Wonderful Walls, you can easily add some elephant décor to your home. We have several products to help you show off your love of the giant mammal. And if you want to bring your elephant obsession to more than just your walls, we have a few ideas below to help you add some fun elephants in any interior decorating scheme you choose.