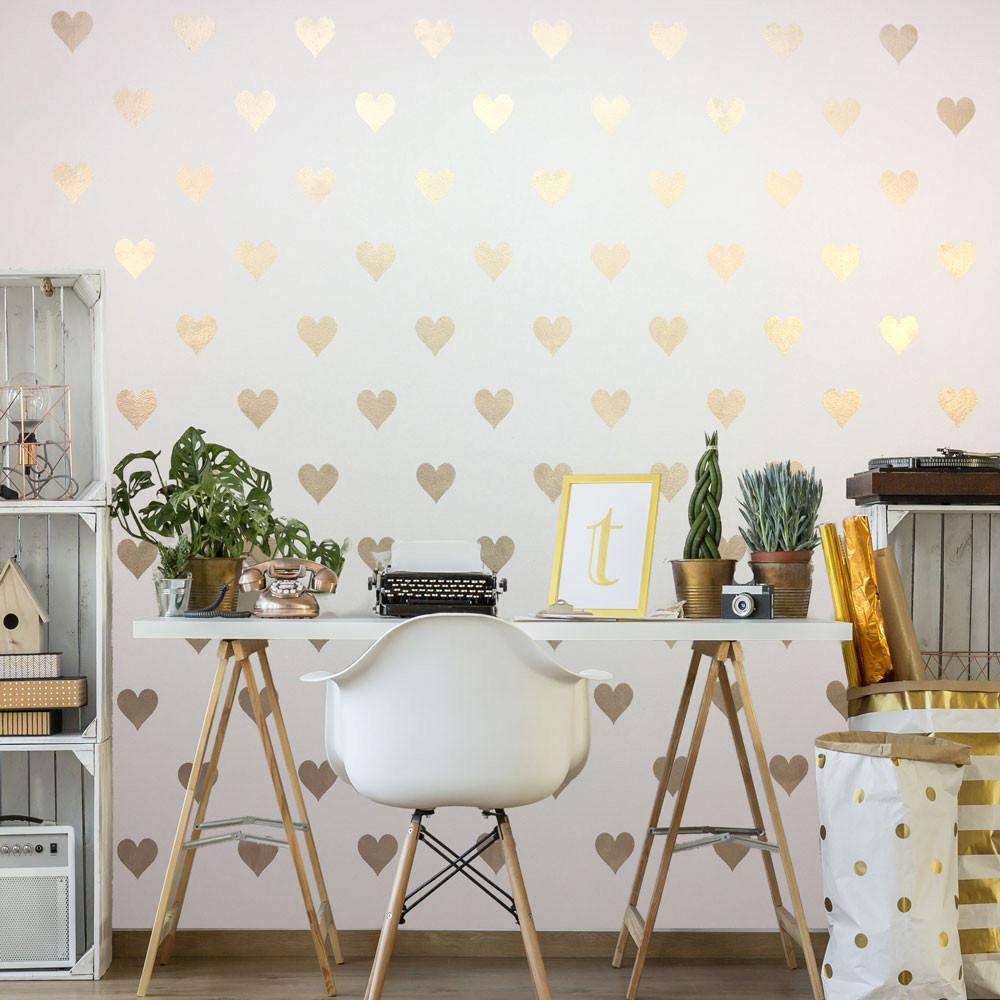
So fun! Our Hearts Allover Stencil is perfect for a fast and easy DIY project for the nursery wall or any room where you want to display the beautiful message that love rules!
- 1 heart shape pattern allover stencil sheet
- Fun idea for accent wall in a nursery, kid room, or office
- Self-adhesive pattern stencil - no glue or tape needed
- Perfect for walls, home improvement projects, crafts and furniture
- Easy to use DIY heart pattern stencil
You’ll love the look that this polka heart wall stencil creates as well as the message it conveys. L-O-V-E! This heart design is ageless and will look as stunning in a baby room as it does on your modern and chic office wall. Unlike wall decals or wall stickers, with stencils you choose the colors and are only limited by your imagination. You can paint pink hearts, gold hearts, purple hearts, silver hearts, or rainbow colored hearts. Painting a heart wall is so easy to do, and you won’t need any tape or glue as these stencils have a self-adhesive backing. Just peel the heart allover stencil from the backing paper, stick it to your painting surface, paint in, remove, and repeat as needed. It's that easy! This heart stencil is designed for walls but is extremely versatile and can be used for walls, furniture, accessories, crafts, projects and more!
MEASUREMENTS
Each heart: 3.2"w x 3.2"h
Full stencil sheet: 20.6'w x 24.5'h.
HOW TO USE A HEART STENCIL ALLOVER PATTERN
-
Placing the heart stencil: Start at one end of the wall and work your way to the other. Let’s go left to right to simplify the instructions. Gently peel the heart pattern stencil from the backing paper. Stick the heart stencil to the top-left corner of the wall, all the way to the ceiling and all the way to the corner. Rub it down with your hand, making sure that all inner edges are down to avoid any bleeding.
-
Get your paints and roller ready: Pour a small amount of acrylic or latex paint onto a foam plate or tray. Roll the foam roller in the paint a few times until you get an even distribution of paint. Roll the roller a couple of times on a paper towel to blot off the excess paint to avoid bleeding.
-
Begin to stencil: Use light to medium pressure and roll the roller all over the stencil. Once the first coat is dry, apply a second and third if needed. Make sure to paint the registration marks on the corners too.
-
Repeating the stencil pattern: Remove the stencil from the wall and overlap the pattern by using the registration marks on the corners. After you’ve completed the top row, move onto the second row, and so on.
-
Painting the corners: Corners aren’t as hard as you may think. Our stencils are quite flexible, so you should be able to simply wrap the stencil around on the connecting wall.
-
Painting the bottom row: When painting the bottom row, place the extra sheet of release paper on the floor, slick side up, under the area you will be painting the final row. This will keep the adhesive side of your stencil clean and prevent it from sticking to anything else if it goes beyond the wall and onto the floor.
-
The final touches: Use your base-coat paint to paint over the registration marks.